File Manager
A simple file manager written in C++ using Qt 6.
Loading...
Searching...
No Matches
Setting up your workspace

This project uses Qt.

Installing Qt

You will need a Qt account to download Qt. If you don't have one, you can create one.

  1. Download Qt.
  2. Run the installer and follow the instructions.
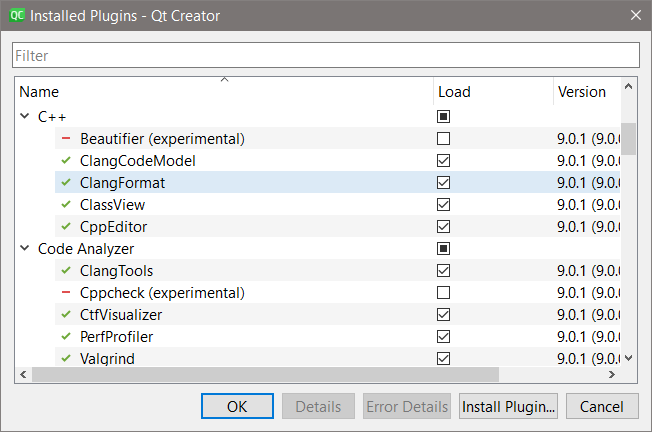
  3. Select the following components:
    image showing components selected

    • Qt 6.5 LTS (Desktop components only)
    • MinGW 11.2.0 64-bit
    • Qt Creator latest
    • Qt Design Studio latest
    • Cmake latest

    In general, keep the default options selected by the Qt installer for your system. Additionally, select the latest minor version of Qt 6.5.

Setting up Qt Creator

Auto-formatting **(Important, don't skip)**

ClangFormat should be installed on your system for this to work. If you don't have it, install it

and add it to your system path.

  1. Open Qt Creator.
  2. Select the Help menu and click on About Plugins....
    screenshot
  3. In the dialog that opens, check ClangFormat under C++ and click Ok.
    screenshot of the Plugins window
  4. Select the Edit menu and click on Preferences....
  5. In the dialog that opens, open the Code Style tab under C++. Change the settings to match the following:
    screenshot of the Preferences window
    Global settings:

    • Formatting mode - Full formatting
    • Format edited code on save - checked

    Click Apply and Ok. Restart Qt Creator.
    Qt Creator should automatically detect the .clang-format file in the project root directory and use it for auto-formatting.

Setting up the project

  1. Open Qt Creator.
  2. Select the File menu and click on Open File or Project....
  3. In the dialog that opens, select the CMakeLists.txt file in the project root directory and click Open.
  4. Qt Creator will automatically configure the project. Wait for the process to finish.
  5. If you have installed Qt correctly, Qt Creator should detect the kits automatically. If not, you can manually add the kits by selecting the Edit menu and clicking on Preferences.... In the dialog that opens, click on Kits. Click on Add and fill in the details.
  6. Select the Build menu and click on Build Project. Wait for the process to finish. Then click on the Run button.

Congratulations! You have successfully set up the project.

Qt Creator Tips and tricks

  • Press F1 with the cursor on any identifier to bring up the documentation.
  • Press Ctrl + Space to bring up the auto-completion menu.
  • Press Ctrl + Mouse click on any identifier to go to its definition.